Português
 Español
Arduino Lesson 1 – What is Arduino? Introduction for Beginners

Arduino: Lesson 1 – What is Arduino?
Originally started as a research project by Massimo Banzi, David Cuartielles, Tom Igoe, Gianluca Martino and David Mellis at the Ivrea Interaction Design Institute in early 2000s, it is based on Processing project, a language for learning to code within context of visual arts developed by Casey Reas and Ben Fry, as well as a thesis project by Hernando Barragan on spinning board.
It consists of a programmable physical circuit board (Microcontroller) and software, or IDE (Integrated Development Environment), used to write and Upload Computer Code to the physical board, and was designed to make Electronics more accessible to Designers, Engineers, Technicians, Enthusiasts and people interested in creating interactive objects or environments.
The first Arduino board was launched in 2005 to help design students, who had no previous experience in electronics or microcontroller programming, to create working prototypes connecting physical world to digital world.
Since then, it has become most popular electronic prototyping tool used by engineers and even large corporations.
An Arduino board can be purchased pre-assembled or, because the hardware design is Open Source, it can be built manually, however, users can adapt boards according to their needs, as well as update or develop their own versions.
The Arduino platform has become quite popular with people who are starting out with electronics and for a very good reason.
Unlike most previous programmable circuit boards, Arduino doesn’t need separate hardware (called a Programmer, USB Serial Converter, FTDI) to load a new code on the board, you can simply use a USB cable.
In addition, the Arduino IDE uses a simplified version of C++, making it easy to learn to program. Finally, Arduino provides a standard form factor that divides the microcontroller functions into a more affordable package.

Fig. 2 – Arduino Uno Board Pinout and Specification
The Arduino Uno is one of the most popular boards in the Arduino family and a great option for beginners.
Believe it or not, 10 lines of code are all you need to blink the On-board LED on your Arduino.
What It Does?
Arduino‘s Hardware and Software was designed for Engineers, technicians, designers, artists, enthusiasts, amateurs, hackers and anyone interested in creating interactive objects or environments.
The Arduino can interact with Buttons, LEDs, Motors, Speakers, GPS Units, Cameras, Internet and even your Smartphone or TV.
This flexibility combined with the fact that Arduino software is Open Source, that is, free, the hardware cards are very cheap and both the software and hardware are easy to learn, leading to a large community of users who contributed code and launched instructions for a huge variety of Arduino-based Projects.
We can use Arduino for just about everything, from robots, heating blanket with temperature limit, machines to count bills, robot arms, etc. The Arduino can be used as the brain behind almost any electronics project.
Source: Arduino.cc
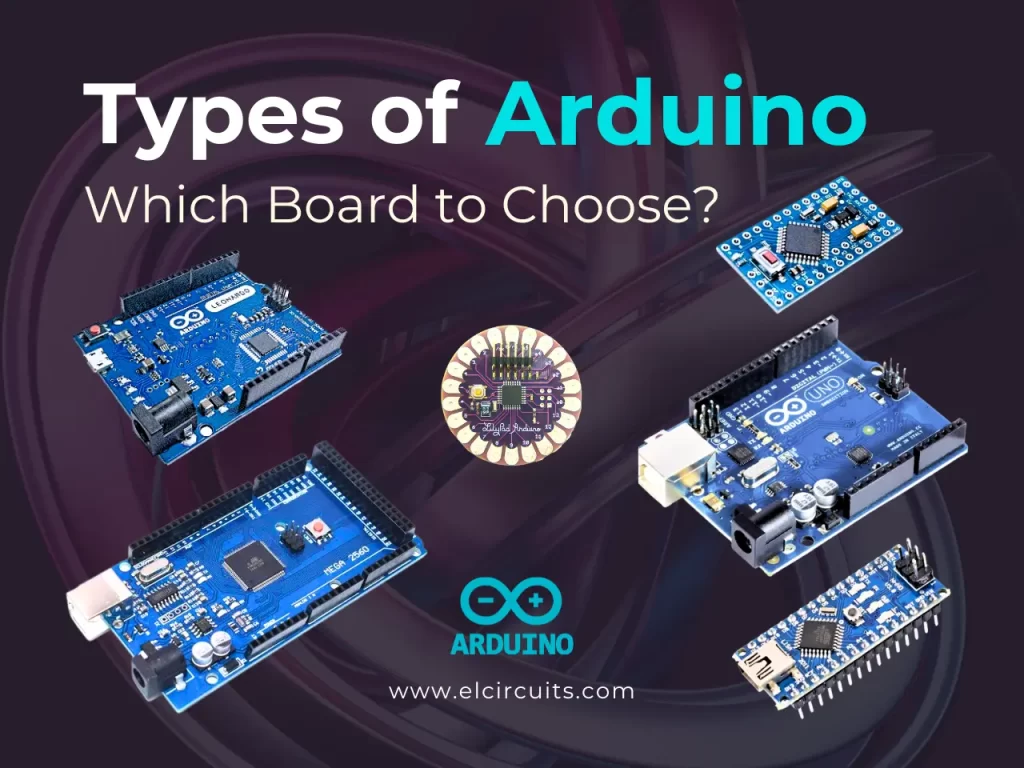
The Arduino Family
There are different types of Arduino board, each with different capacities. In addition, some of the open source hardware means that others can modify and produce Arduino board derivatives that provide even more form and functionality factors.
If you are not sure which one is right for your project. Here are some options that are suitable for someone new to the Arduino’s world:
Arduino Uno (R3)
Arduino Uno is a great option for your first Arduino. It has everything you need to get started and use it for your projects. Here you will find technical specifications for Arduino UNO R3:
- Microcontroller: ATmega328P
- Digital I/O Pins: 14
- Analog input pins: 6
- PWM pins: 6
- Communication
- UART
- I2C
- SPI
A USB connection, a power connector, a reset button and much more. It contains everything needed to support the microcontroller; Simply connect it to a computer with a USB cable or connect it to a DC power supply or battery to get started.
Sensors
With some simple code, Arduino can control and interact with a wide variety of sensors – things that can measure light, temperature, degree of flexion, pressure, proximity, acceleration, carbon monoxide, radioactivity, humidity, barometric pressure, voltage, current, among so many others.
Shields
In addition, there are these things called Shields, basically they are pre-assembled circuit boards that fit on top of your Arduino and provide additional features – controlling engines, connecting to Internet, providing cell phones or other wireless communication, controlling an LCD display and more.
Next Lesson
- Arduino: Lesson 2 – How to Install Arduino Software (IDE) on Windows – Step by Step!
- Arduino: Lesson 3 – Blinking an LED with delay()
- Arduino: Lesson 4 – Read Pushbutton with digitalRead() function
✨ Our Gratitude and Next Steps
We sincerely hope this guide has been useful and enriching for your projects! Thank you for dedicating your time to this content.
Your Feedback is Invaluable:
Have any questions, suggestions, or corrections? Feel free to share them in the comments below! Your contribution helps us refine this content for the entire ElCircuits community.
If you found this guide helpful, spread the knowledge!
🔗 Share This Guide
Best regards,
The ElCircuits Team ⚡