Português
 Español
Arduino Lesson 4 – How to Read a Pushbutton using digitalRead()

Arduino Lesson 4 – Read Pushbutton with digitalRead() function
Welcome to Lesson 4 – Basic Arduino Course
Today we are going to learn how to read a Pushbutton, which when pressed, Arduino will read and light an LED indicating that button was pressed. We will use digitalRead() function.
Hardware Required
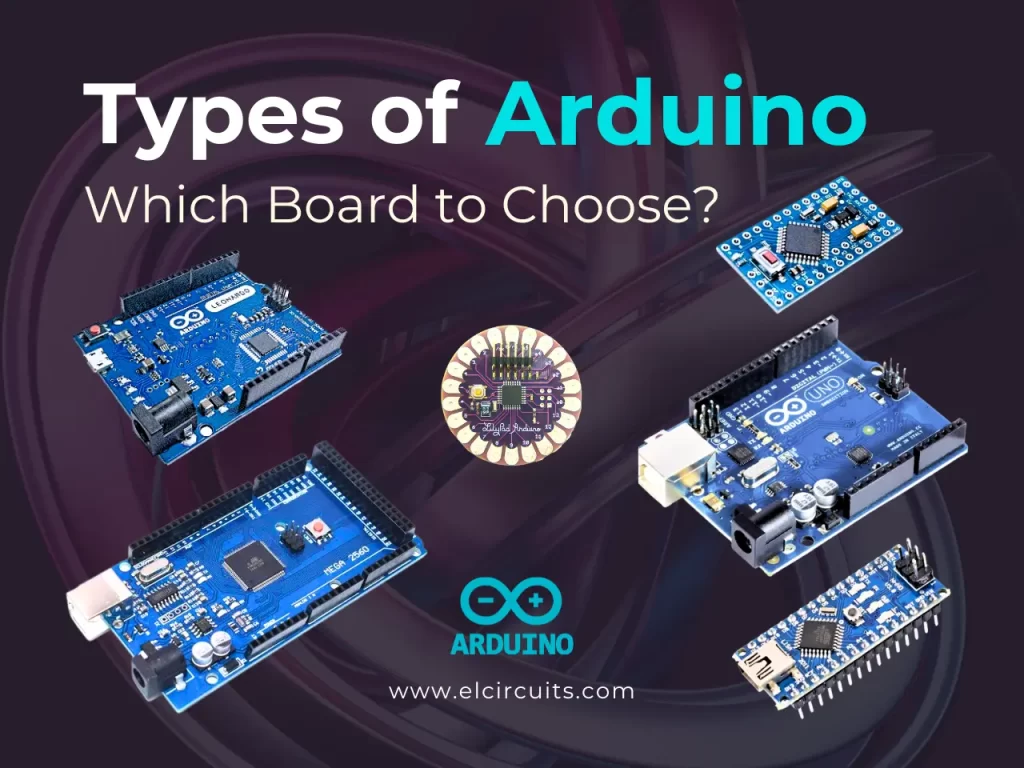
- Arduino Board
- A Pushbutton
- LED – optional “You can use onboard LED”
- 220 ohm resistor – optional “You can use onboard resistor”
The Circuit
You can use as an example the built-in LED that most Arduino boards have. This LED is connected to a digital pin 13, however, this number may vary from board type to board type.
This constant is LED_BUILTIN and allows you to control the built-in LED easily, and correspondence of this constant is digital pin 13.
However, you can light an external LED with this sketch, you just need to build the same circuit as previous lesson, Lesson 3, as we will be using the same circuit, only added from the Microswitch as shown in Figure 2 below,

Fig. 2 – Arduino Read a Microswitch with digitalRead function – tinkercad.com
The Code
After building the circuit, connect your Arduino board to your computer, launch the Arduino Software (IDE), copy the code below and paste it into your Arduino IDE. But first, let’s understand the code line by line.
- First we have the integer declarations, in Line 4 and in Line 5, they are integer constants, as they will not change their parameters, these are the pins that will connect the Push Button and LED.
- In Line 8, we create a variable that will receive the initial value “0“, it will receive the state of the switch depending on whether you press it or not, it will change its value.
// Arduino: Lesson 4 - Read Pushbutton with digitalRead() function

// Constants don't change. // That's why they are used to set the pin numbers
const int buttonPin = 12;  // The number of the pushbutton pin
const int ledPin = 6;    // The number of the LED pin

// This variable will change according to the state of the LED
int buttonState = 0;    // Variable for reading the pushbutton status
- After the declarations, we enter the void setup() function, this function will only be read once at Arduino startup. Here where we declare for Arduino where we connect our peripherals.
- In Line 11 we use ledPin declaration as output.
- In Line 12 we declare our buttonPin as input Pullup, which means we are using Arduino’s internal Pullup resistor, so we don’t need to use an external resistor together with the switch.
void setup() {
  pinMode(ledPin, OUTPUT);              // Initialize digital pin 6 as an output.
  pinMode(buttonPin, INPUT_PULLUP);       // Initialize pushbutton pin as an input pull up
}
- After setting the initializations, in Line 15 we will enter the void loop() function.
- In Line 16, we get the state of the switch, when pressed, variable gets “0“, and when released, variable gets “1“.
You may be thinking, but it shouldn’t be the other way around, when you press it goes to “1” and when I release it it goes to “0“.
Well, remember we use Arduino’s internal Pullup resistor, which means when the switch is released, the Pullup resistor leaves the Arduino’s gate at HIGH, “1“, and when you press the switch it throws the output to ground, which means we ground output “0” so it goes to LOW.
- In Line 18, we declare a control structure, using IF conditional, with it we are going to check if the key was pressed, if so, variable buttonState will receive value LOW, “0“. If released, it will receive HIGH value “1“.
- In Line 19, digitalWrite function, command activates ledPin to HIGH level, which means that it goes from 0V to 5V, which makes the LED receive voltage and light up.
- In Line 20, we have “else” control structure, that will be triggered if the “if” structure control isn’t true.
- In Line 21, digitalWrite function, command activates ledPin to LOW level, which means that it goes from 5V to 0V, which makes the LED turn off.
void loop() {                         // The loop function runs over and over again forever
  buttonState = digitalRead(buttonPin);   // Read the state of the pushbutton value

  if (buttonState == LOW) {            // Check if pushbutton is pressed. Case is, buttonState is LOW
    digitalWrite(ledPin, HIGH);         // Turn LED On
  } else {
    digitalWrite(ledPin, LOW);          // Turn LED Off
  }
}
The complete code is shown in the sketch below!
// Arduino: Lesson 4 - Read Pushbutton with digitalRead() function

// Constants don't change. // That's why they are used to set the pin numbers
const int buttonPin = 12;  // The number of the pushbutton pin
const int ledPin = 6;    // The number of the LED pin

// This variable will change according to the state of the LED
int buttonState = 0;    // Variable for reading the pushbutton status

void setup() {
  pinMode(ledPin, OUTPUT);              // Initialize digital pin 6 as an output.
  pinMode(buttonPin, INPUT_PULLUP);       // Initialize pushbutton pin as an input pull up
}

void loop() {                         // The loop function runs over and over again forever
  buttonState = digitalRead(buttonPin);   // Read the state of the pushbutton value

  if (buttonState == LOW) {            // Check if pushbutton is pressed. Case is, buttonState is LOW
    digitalWrite(ledPin, HIGH);         // Turn LED On
  } else {
    digitalWrite(ledPin, LOW);          // Turn LED Off
  }
}
//------------------------------------- www.elcircuits.com --------------------------------------------
Next Lesson
- Arduino: Lesson 5 – Reading Potentiometer and Showing Values On Serial Monitor
- Arduino: Lesson 6 – How to use Analog Output to fade an LED
- Arduino: Lesson 7 – Controlling LED Through Serial Monitor with Arduino
Previous Lesson
- Arduino: Lesson 1 – What is Arduino?
- Arduino: Lesson 2 – How to Install Arduino Software (IDE) on Windows – Step by Step!
- Arduino: Lesson 3 – Blinking an LED with delay() function
✨ Our Gratitude and Next Steps
We sincerely hope this guide has been useful and enriching for your projects! Thank you for dedicating your time to this content.
Your Feedback is Invaluable:
Have any questions, suggestions, or corrections? Feel free to share them in the comments below! Your contribution helps us refine this content for the entire ElCircuits community.
If you found this guide helpful, spread the knowledge!
🔗 Share This Guide
Best regards,
The ElCircuits Team ⚡